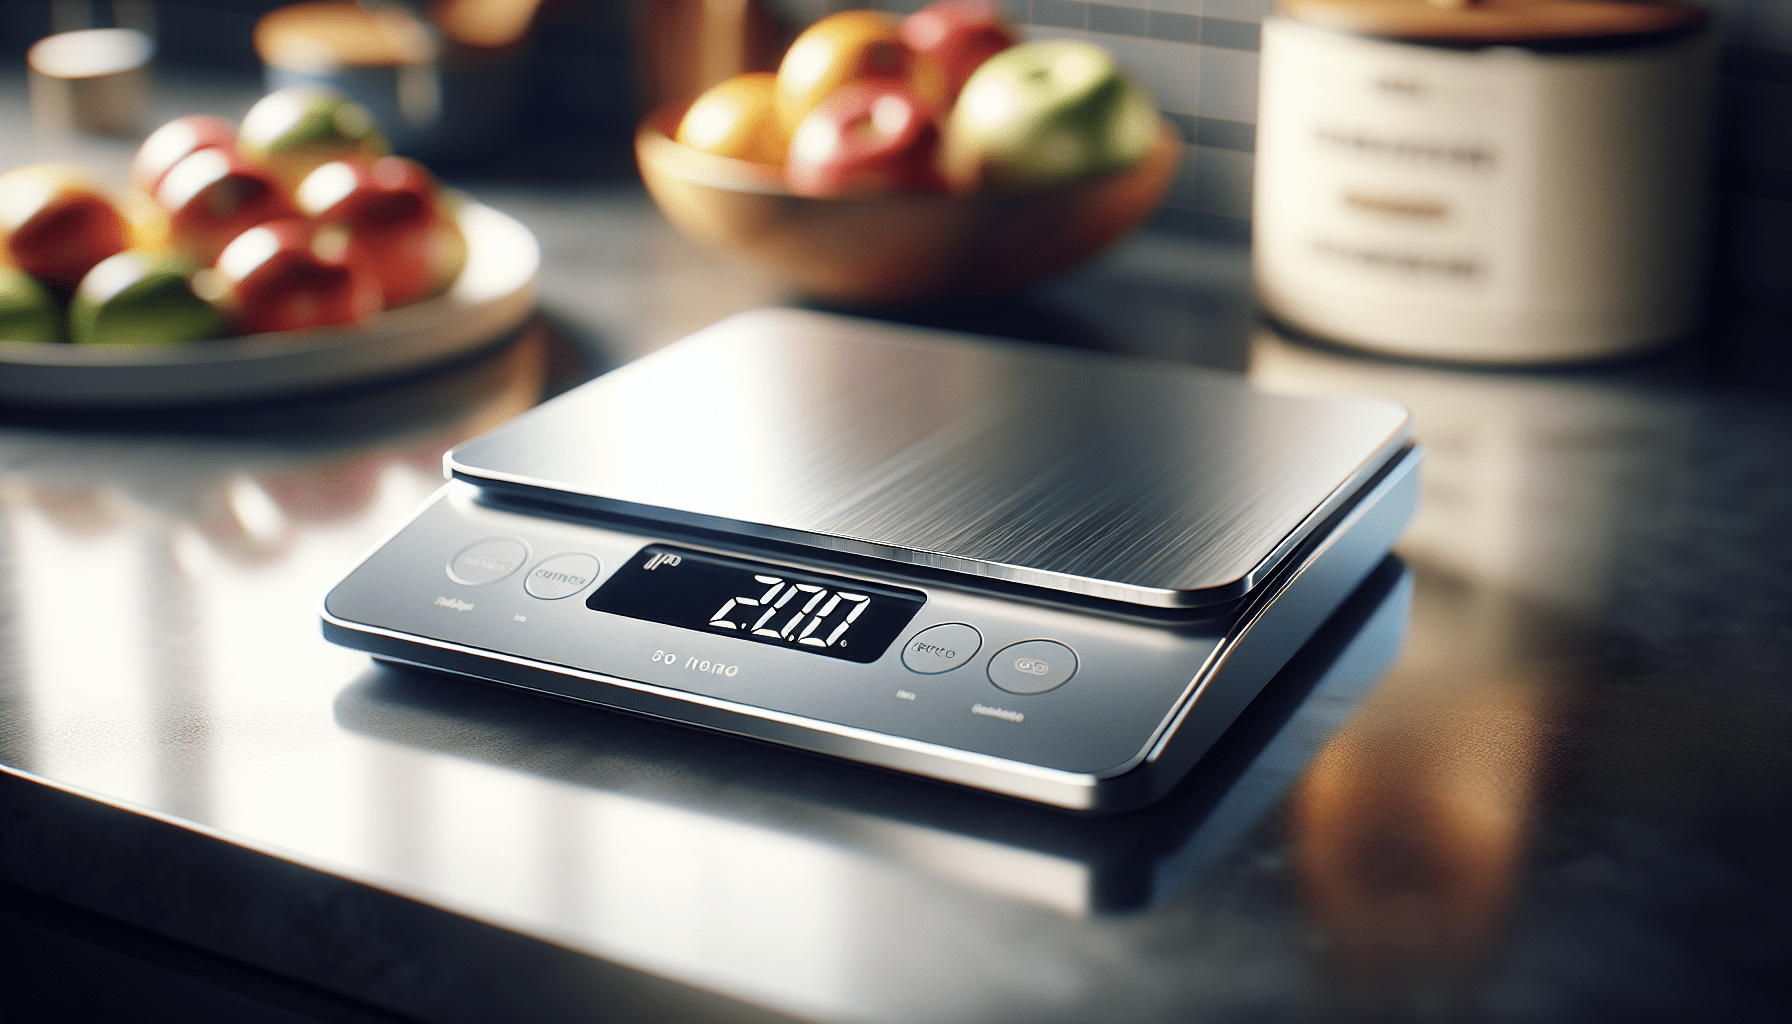
How To Calibrate A Taylor Digital Kitchen Scale

Is your Taylor digital kitchen scale not giving you precise readings anymore? Even the best kitchen scales need recalibration from time to time to ensure their accuracy. Cooking and baking are like sciences, and perfect measurements can make a world of difference in your culinary creations. Fortunately, calibrating your digital scale is not as complicated as it sounds, and this guide will walk you through each step with ease.
Understanding Why Calibration Is Important
Calibration is essential to maintain the accuracy of your kitchen scale. Over time, daily use, moving the scale, or even battery replacements can impact its accuracy. Without calibration, you might end up with inaccurate measurements, which could affect the balance and taste of your recipes.
Why Choose a Taylor Digital Kitchen Scale?
Taylor has been a trusted name in precision measurement for over 150 years, known for designing scales that blend technology with ease of use. However, like any other digital device, these scales require regular calibration to ensure top-notch performance.
Identifying Signs That Your Scale Needs Calibration
Knowing when to calibrate can save you time and effort. If your scale is displaying erratic weights, giving inconsistent readings, or failing to return to zero, it’s time to recalibrate.
Common Signs Indicating Calibration Is Needed
- Inconsistent Readings: Slightly different readings for the same item.
- Zeroing Issues: Trouble with the scale returning to zero before and after use.
- Display Errors: Obvious errors or flashing lights indicating a problem.

Preparing for Calibration
Before you begin the calibration process, gather all the necessary items and prepare your work environment to ensure precise adjustment.
What You’ll Need
- Calibration Weight: Ideally, use a standard weight. However, if you don’t have one, you can use household items with known weights (like a bag of sugar).
- Flat Surface: Ensure your scale is on a stable, level surface free of any debris or obstructions.
- Fresh Batteries: If your scale uses batteries, make sure they are new or have full charge.
Setting Up Your Scale
- Clean the Scale: Use a soft cloth to remove any dust or food particles.
- Check the Surface: Make sure the table or countertop is flat; use a spirit level if necessary.
- Reinstall Batteries: Before calibration, replace or reinstall batteries to avoid power-related discrepancies.
Step-by-Step Guide to Calibration
Now that you’re prepared, it’s time to calibrate your Taylor digital kitchen scale. This process may vary slightly depending on the model, but the general steps remain the same.
Starting the Calibration
- Turn On the Scale: Place your scale on the prepared surface and press the power button to turn it on.
- Enter Calibration Mode: Most Taylor scales have a calibration button or mode. Typically, you might need to press and hold the power button or a specific combination of keys. Refer to your scale’s manual if needed.
Performing the Calibration
- Place the Calibration Weight: Once the scale indicates it’s ready, gently place the calibration weight on the center.
- Wait for Stabilization: Allow the scale to stabilize and adjust. The display should show a set value indicating successful calibration.
- Confirm Calibration: Some scales will prompt you to confirm by pressing a button. Once confirmed, the scale should return to zero.
Finalizing the Calibration
- Remove the Weight: Lift the weight gently to prevent any disruption.
- Re-Test: Test the scale with a known weight again to ensure the readings are accurate.
- Power Off: Once satisfied, turn off the scale and store properly for future use.

Troubleshooting Common Calibration Issues
Even with the best preparation, you might encounter issues. Here’s how to tackle some common problems during calibration.
Scale Won’t Enter Calibration Mode
- Check the Manual: Ensure you’re using the correct button sequence.
- Reboot the Scale: Turn it off and on, then attempt again.
- Inspect Battery Contact: Ensure battery contacts are clean and making good contact.
Incorrect Calibration Readings
- Repeat the Process: Try calibrating again using a different weight.
- Weight Variability: Use a weight with a certified value if possible.
- Surface Stability: Double-check that your surface didn’t shift during the process.
Maintaining Accurate Measurements
Once calibrated, certain practices can help keep your scale accurate for longer.
Regular Maintenance Tips
- Re-Calibrate Periodically: Every few months or after heavy use.
- Handle Gently: Avoid dropping or bumping the scale.
- Replace Batteries Promptly: Low power can lead to inaccuracies.
Alternatives for Accurate Measurement
If you find frequent recalibration bothersome, consider using dual-mode scales that automatically adjust or invest in high-quality calibration weights for accuracy.

Conclusion
Calibrating a Taylor digital kitchen scale isn’t merely about pushing buttons; it’s about understanding the importance of precision in your kitchen endeavors. While the process may seem daunting the first time, it gets easier with practice. Armed with this knowledge, you’re now ready to ensure that every gram and ounce in your ingredients is measured with utmost precision, bringing your dishes closer to perfection. Calibration is more than a chore—it’s a step towards culinary mastery!
